Gallery
See the difference
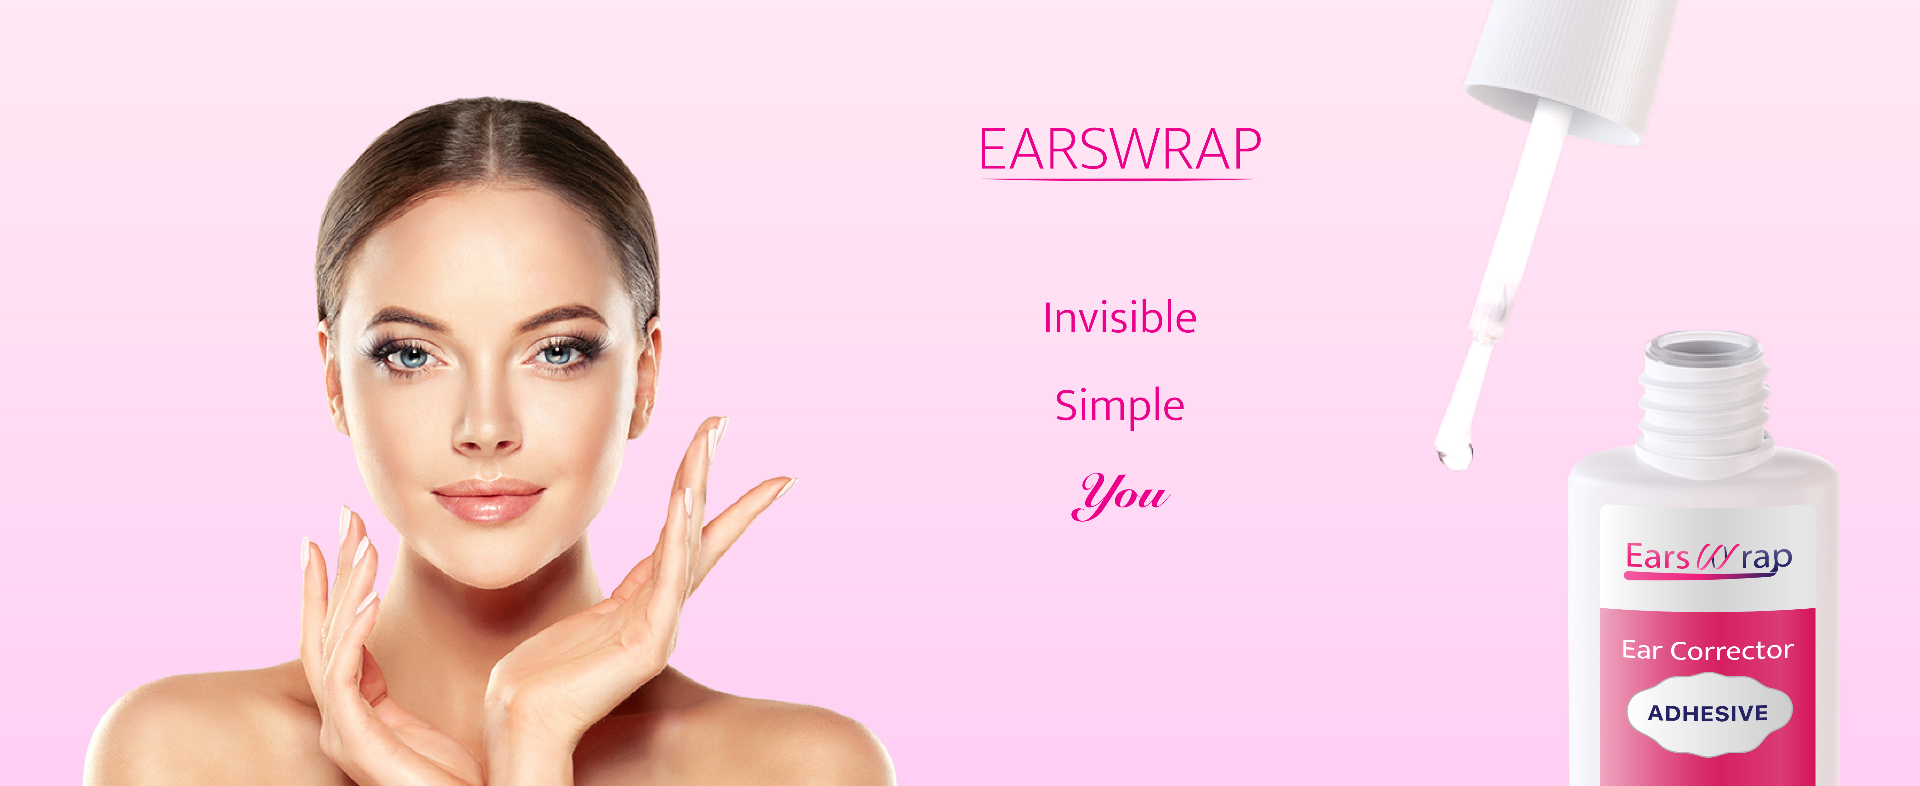
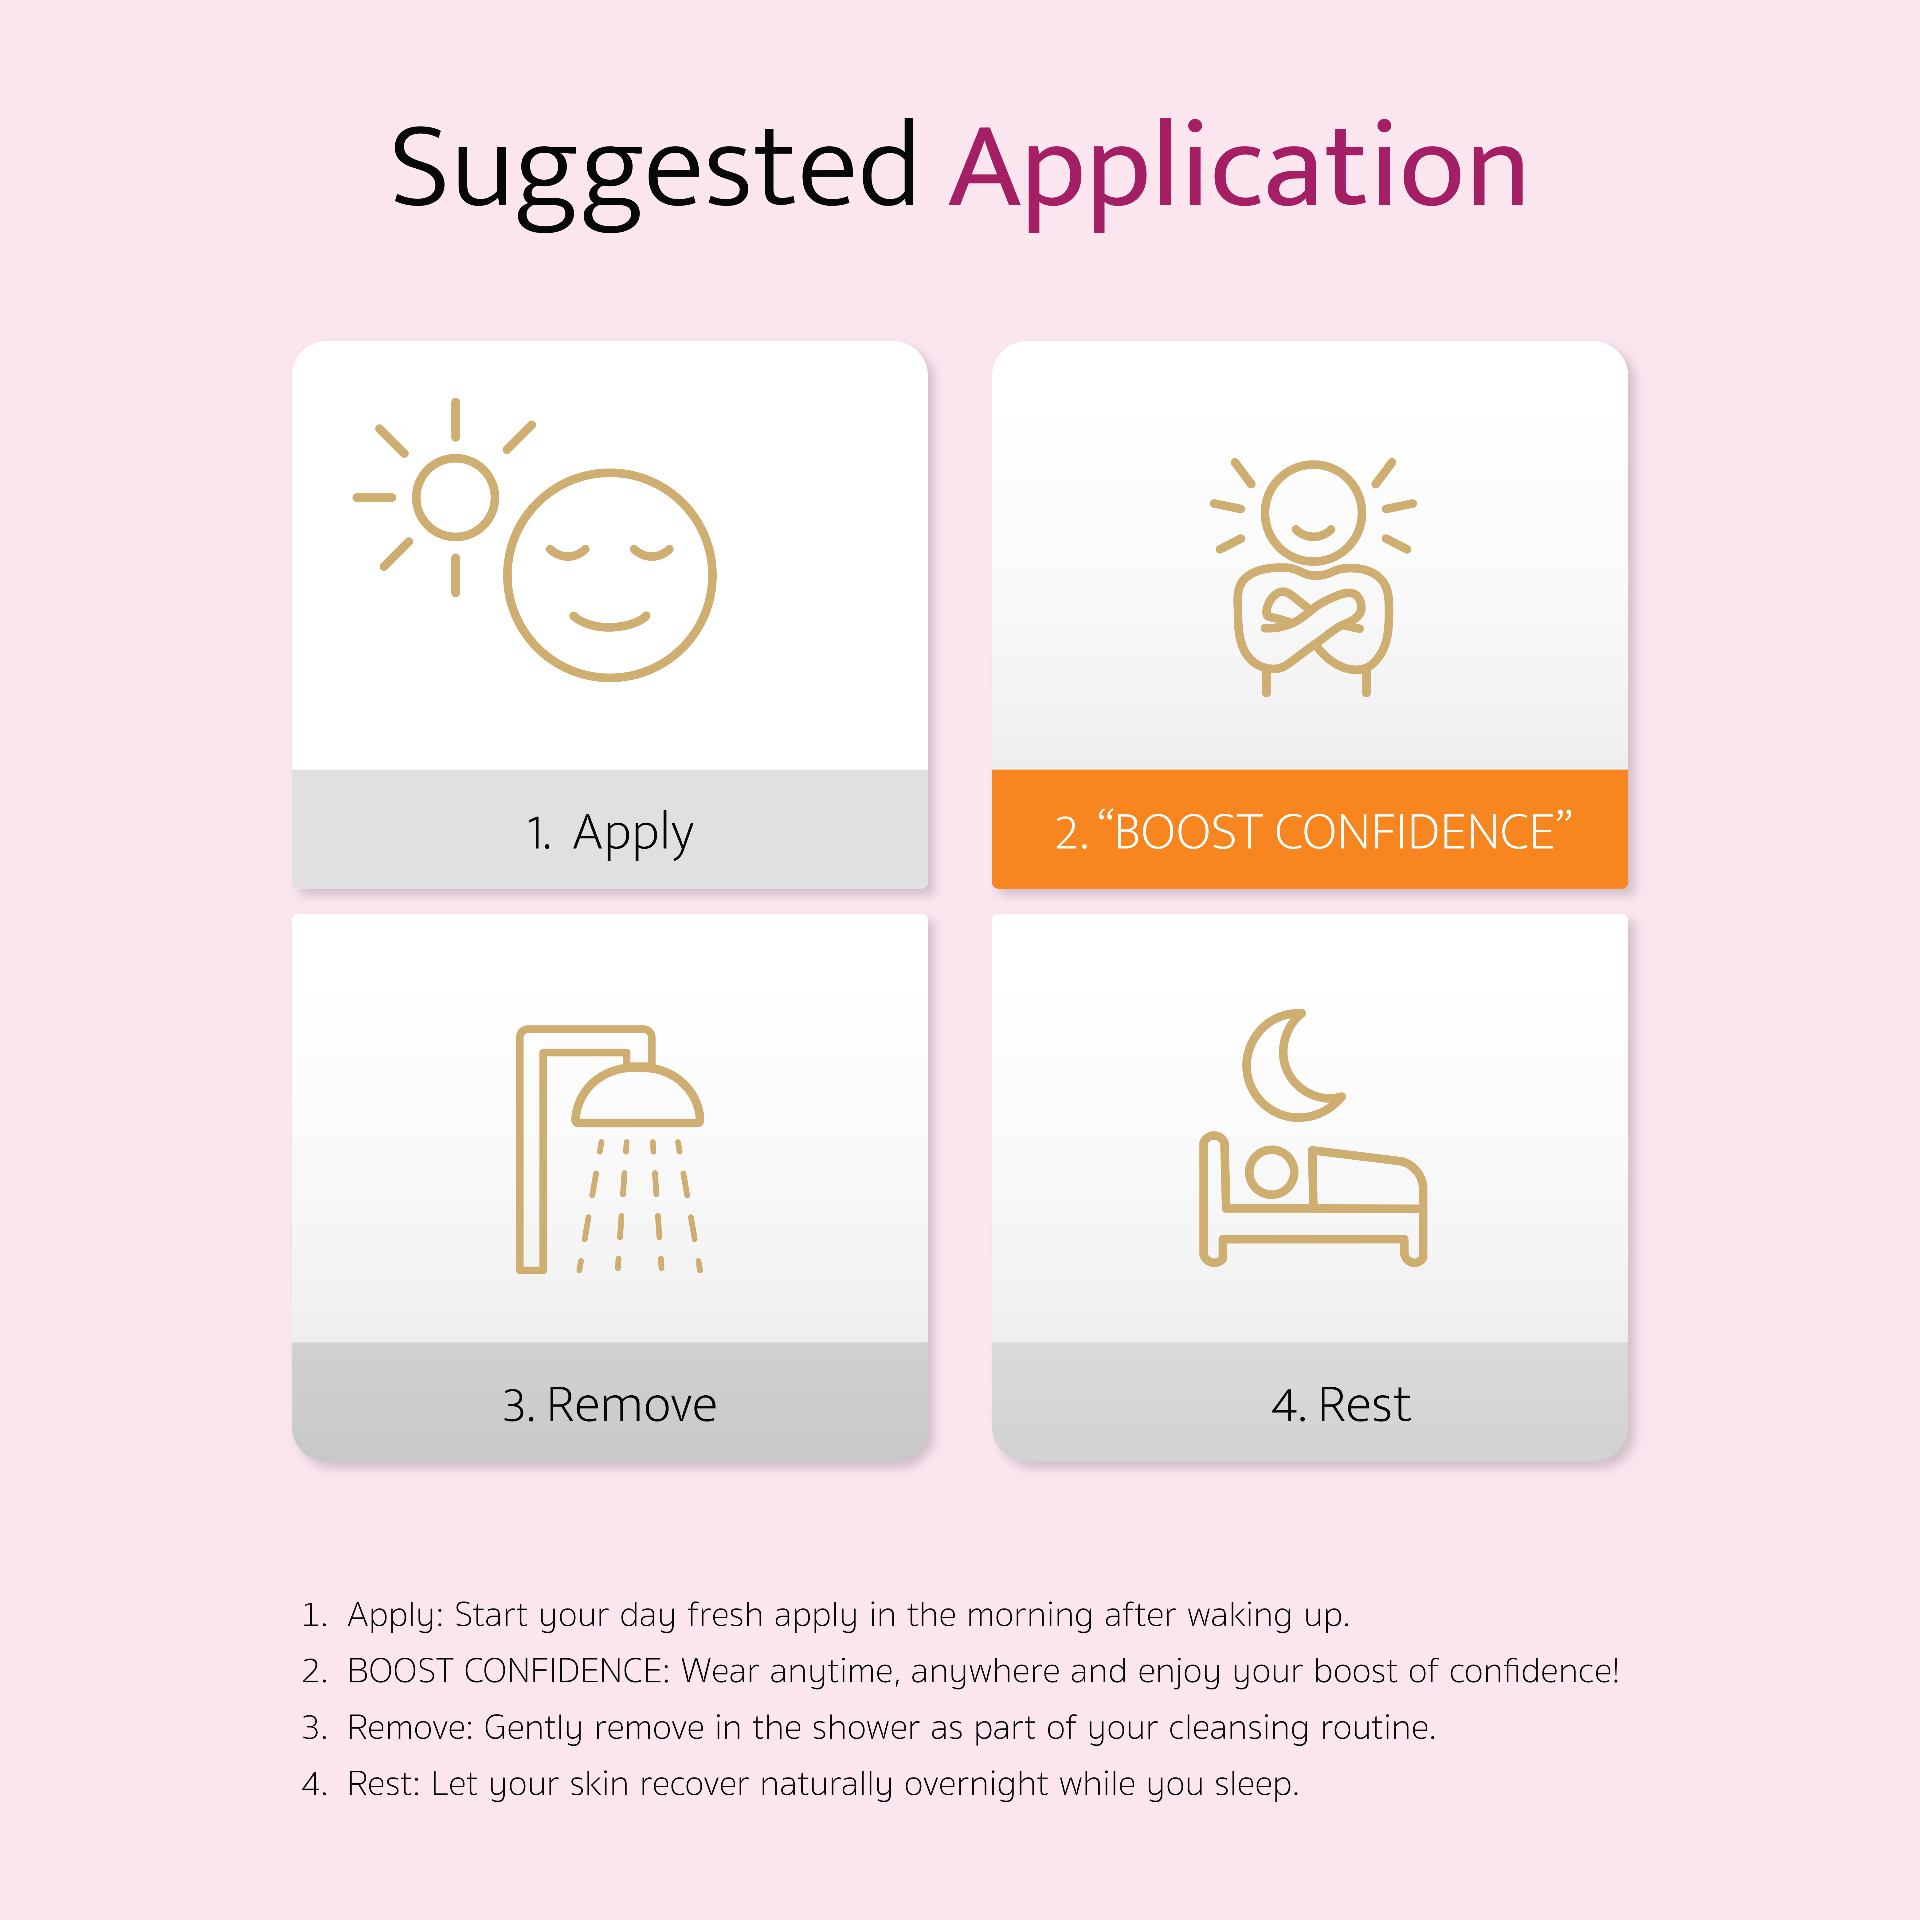
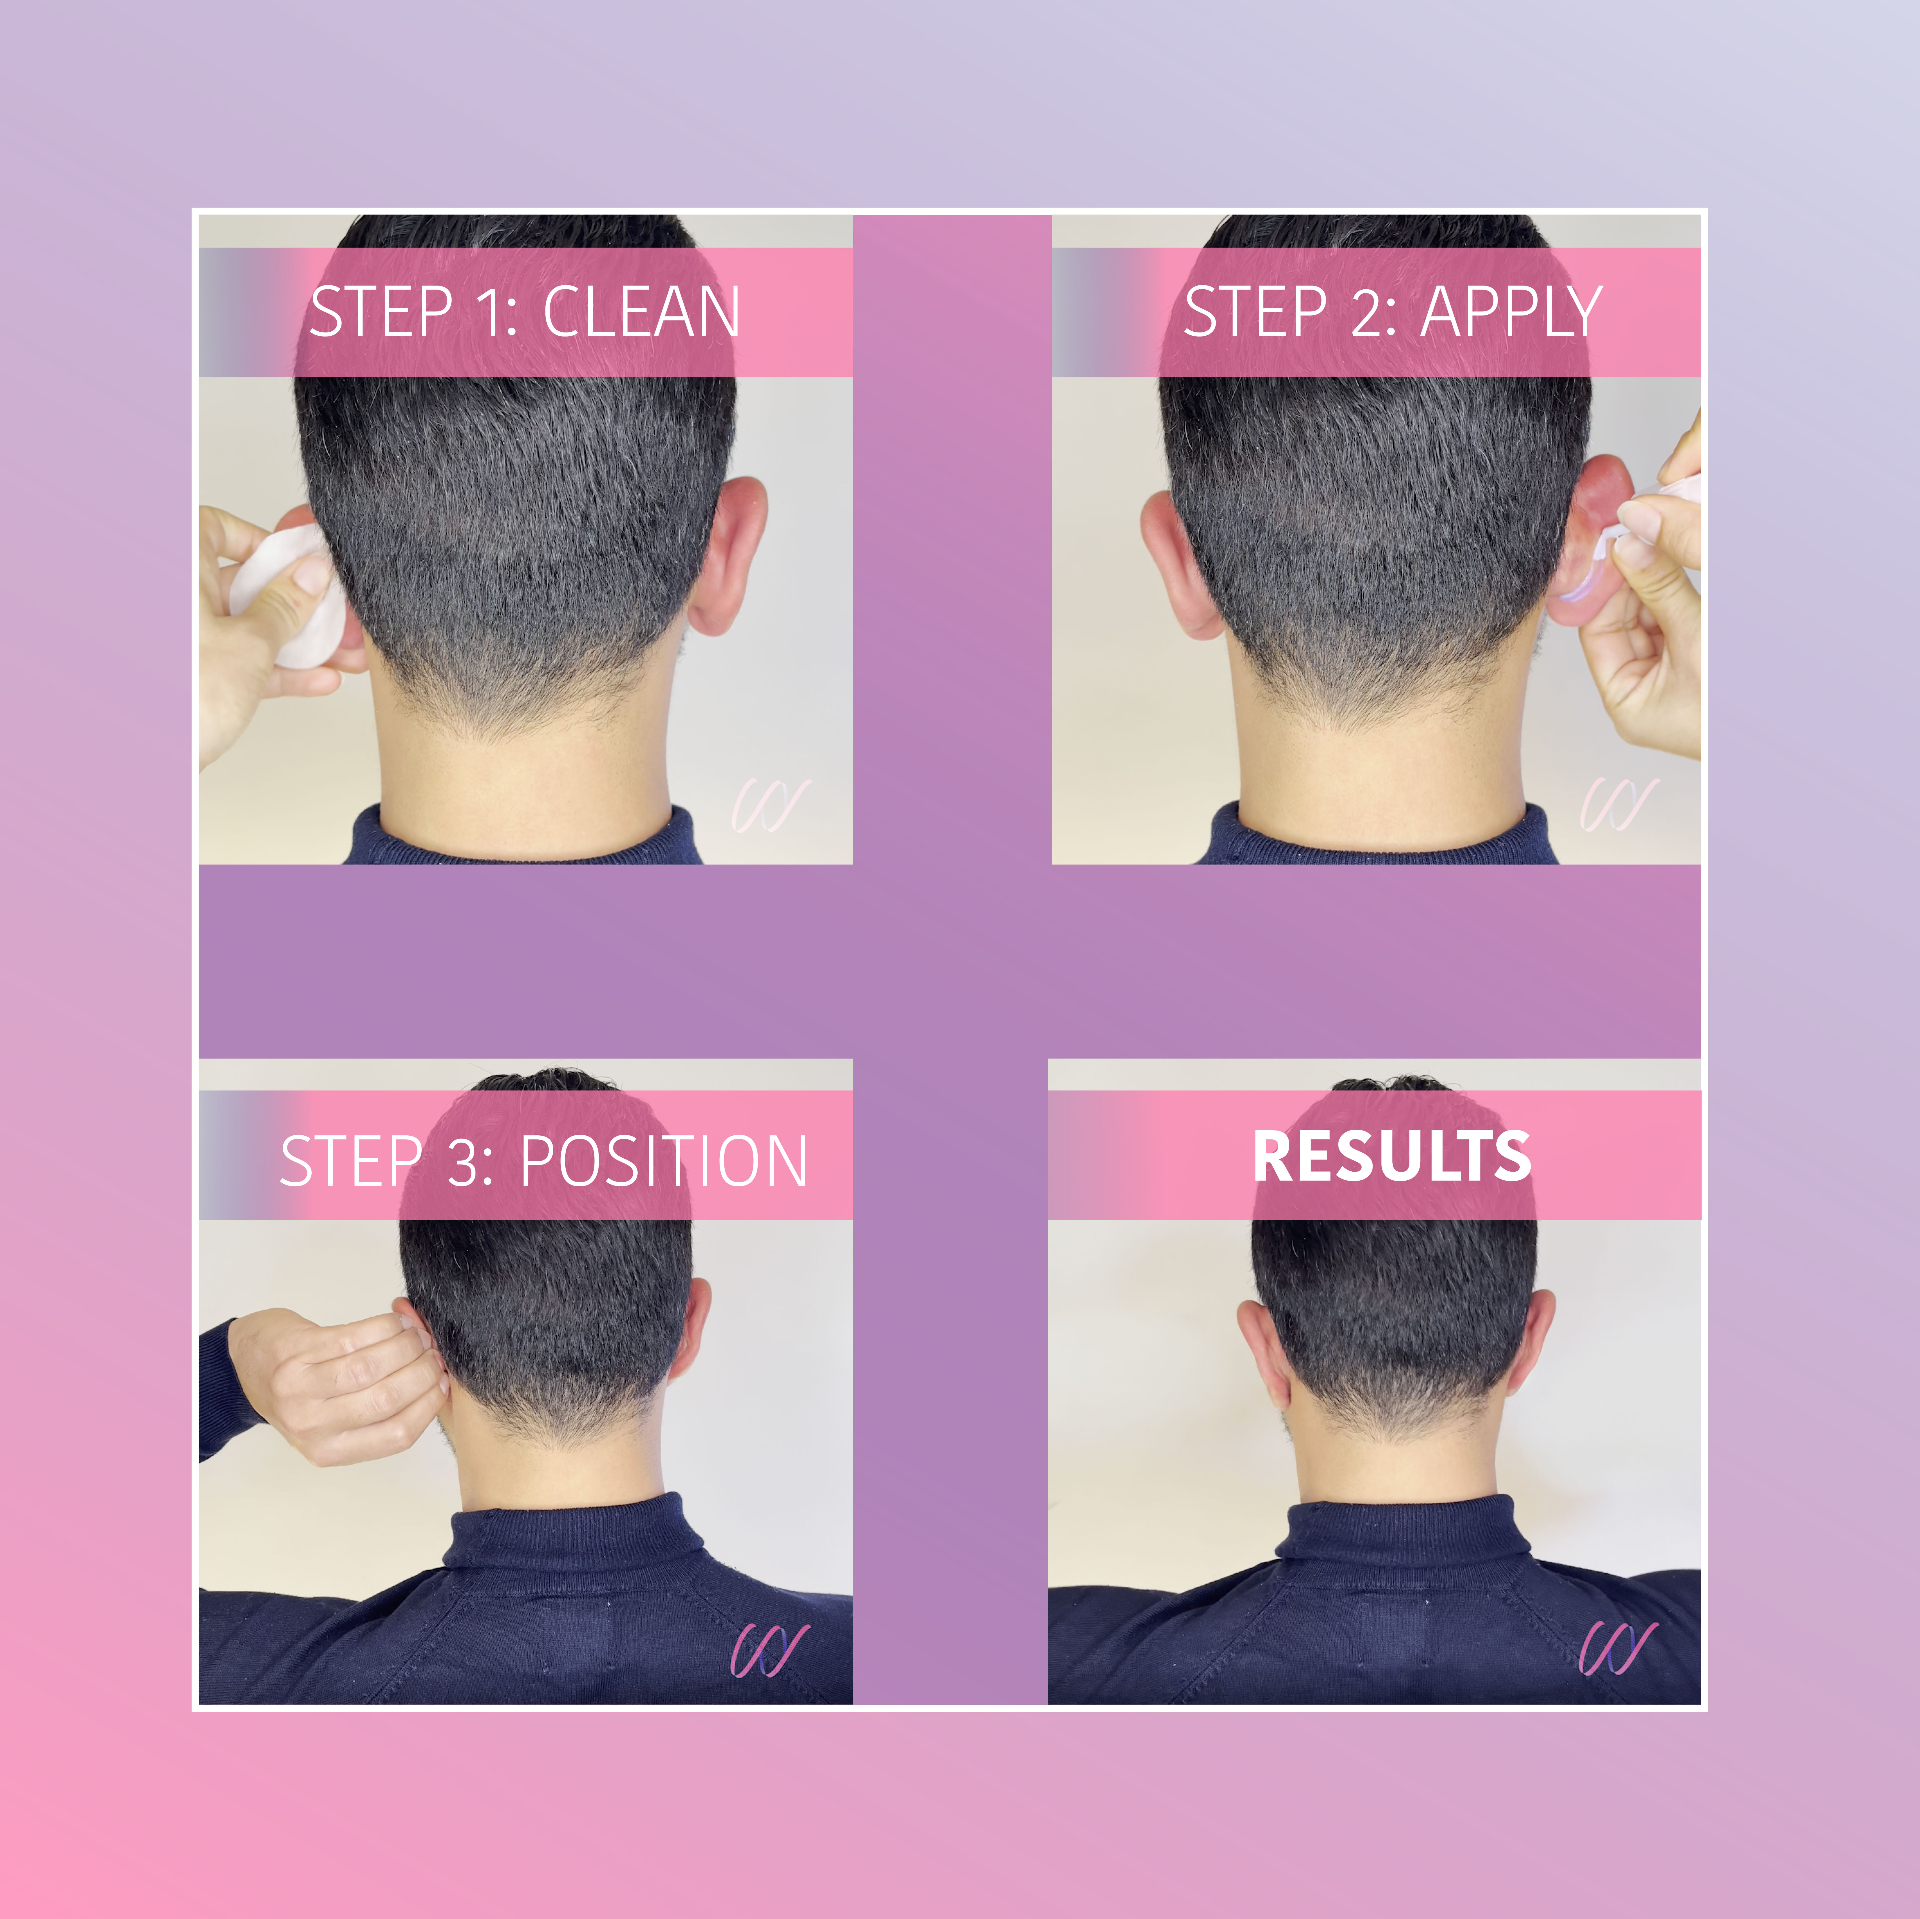
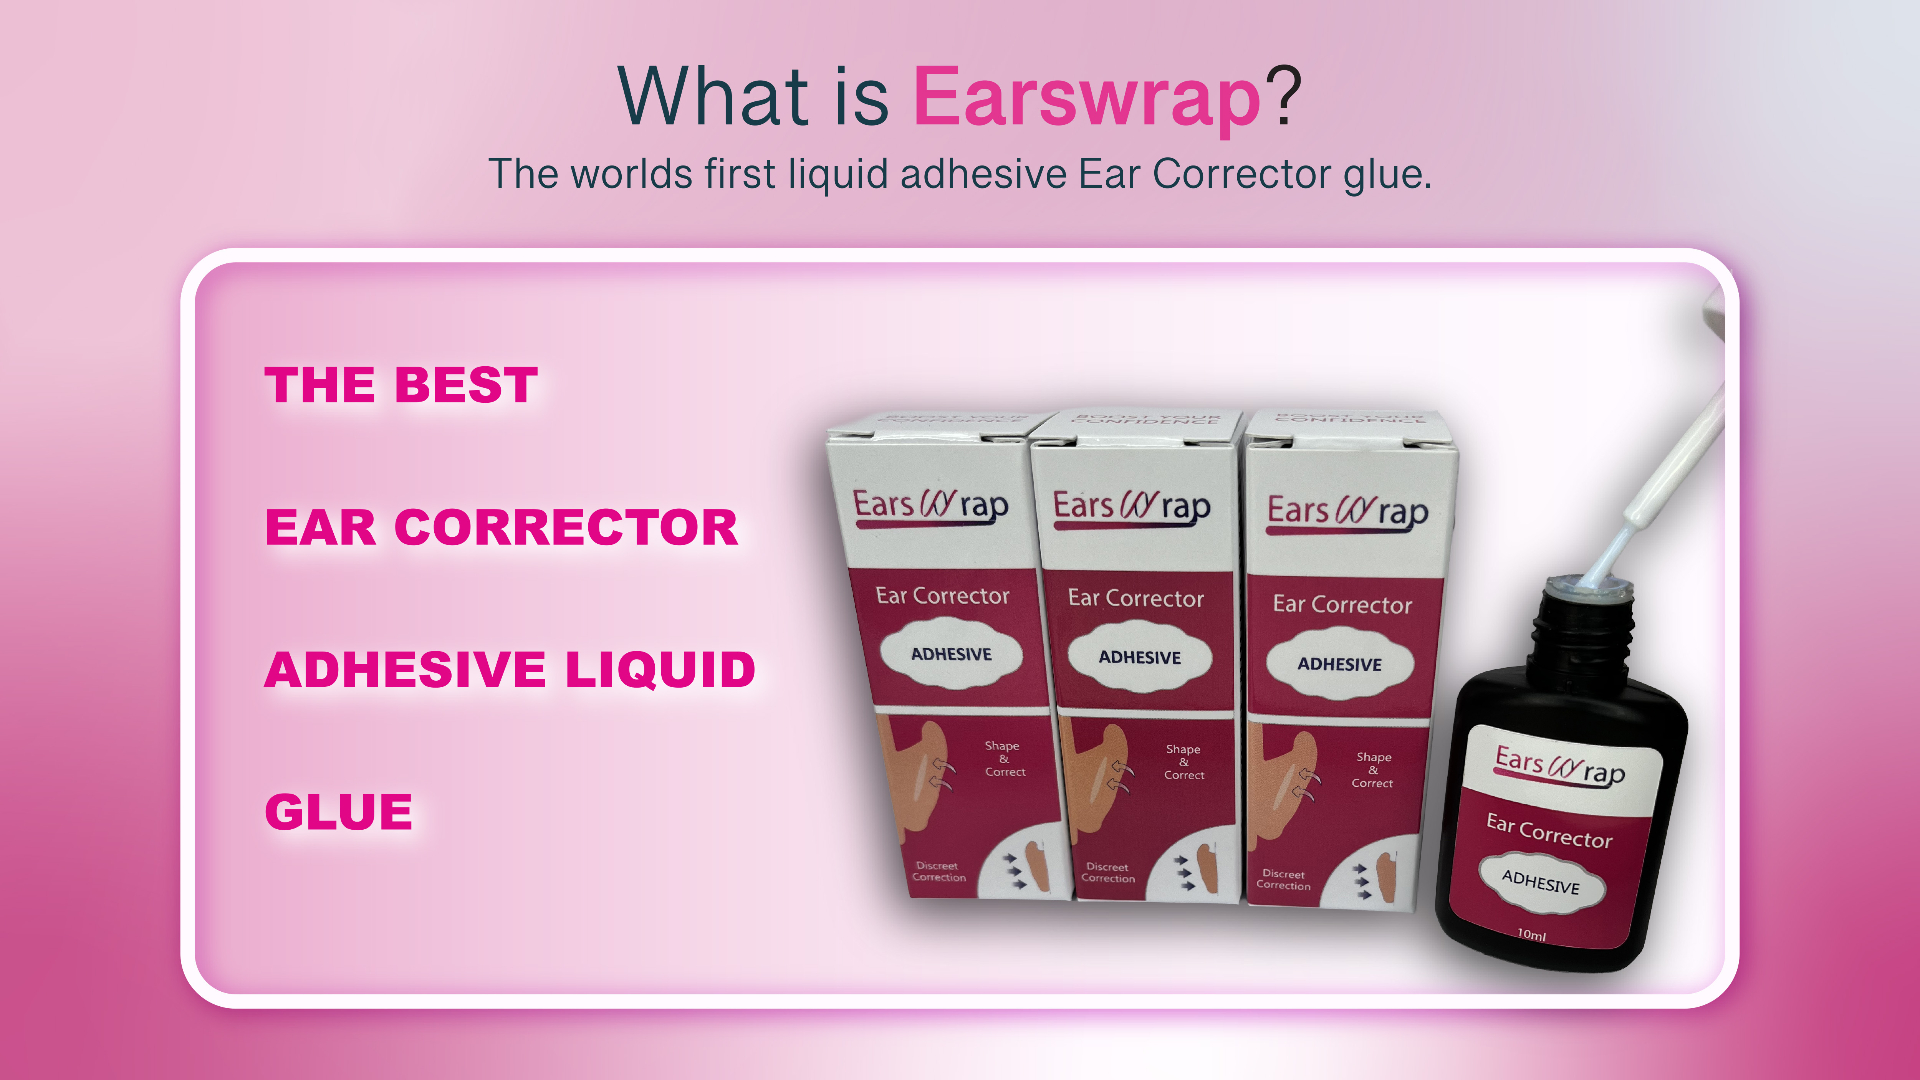
The whole point of Earswrap is that you cannot see it. That makes it hard to describe and easy to show, so here is the product in use: the flat-ear result, the application from start to finish, and how it compares with the visible alternatives.
Earswrap in use
The result and the process
What to expect, honestly
- Earswrap holds the ear flat while it is applied. It does not reshape cartilage, so the effect is temporary and reapplied.
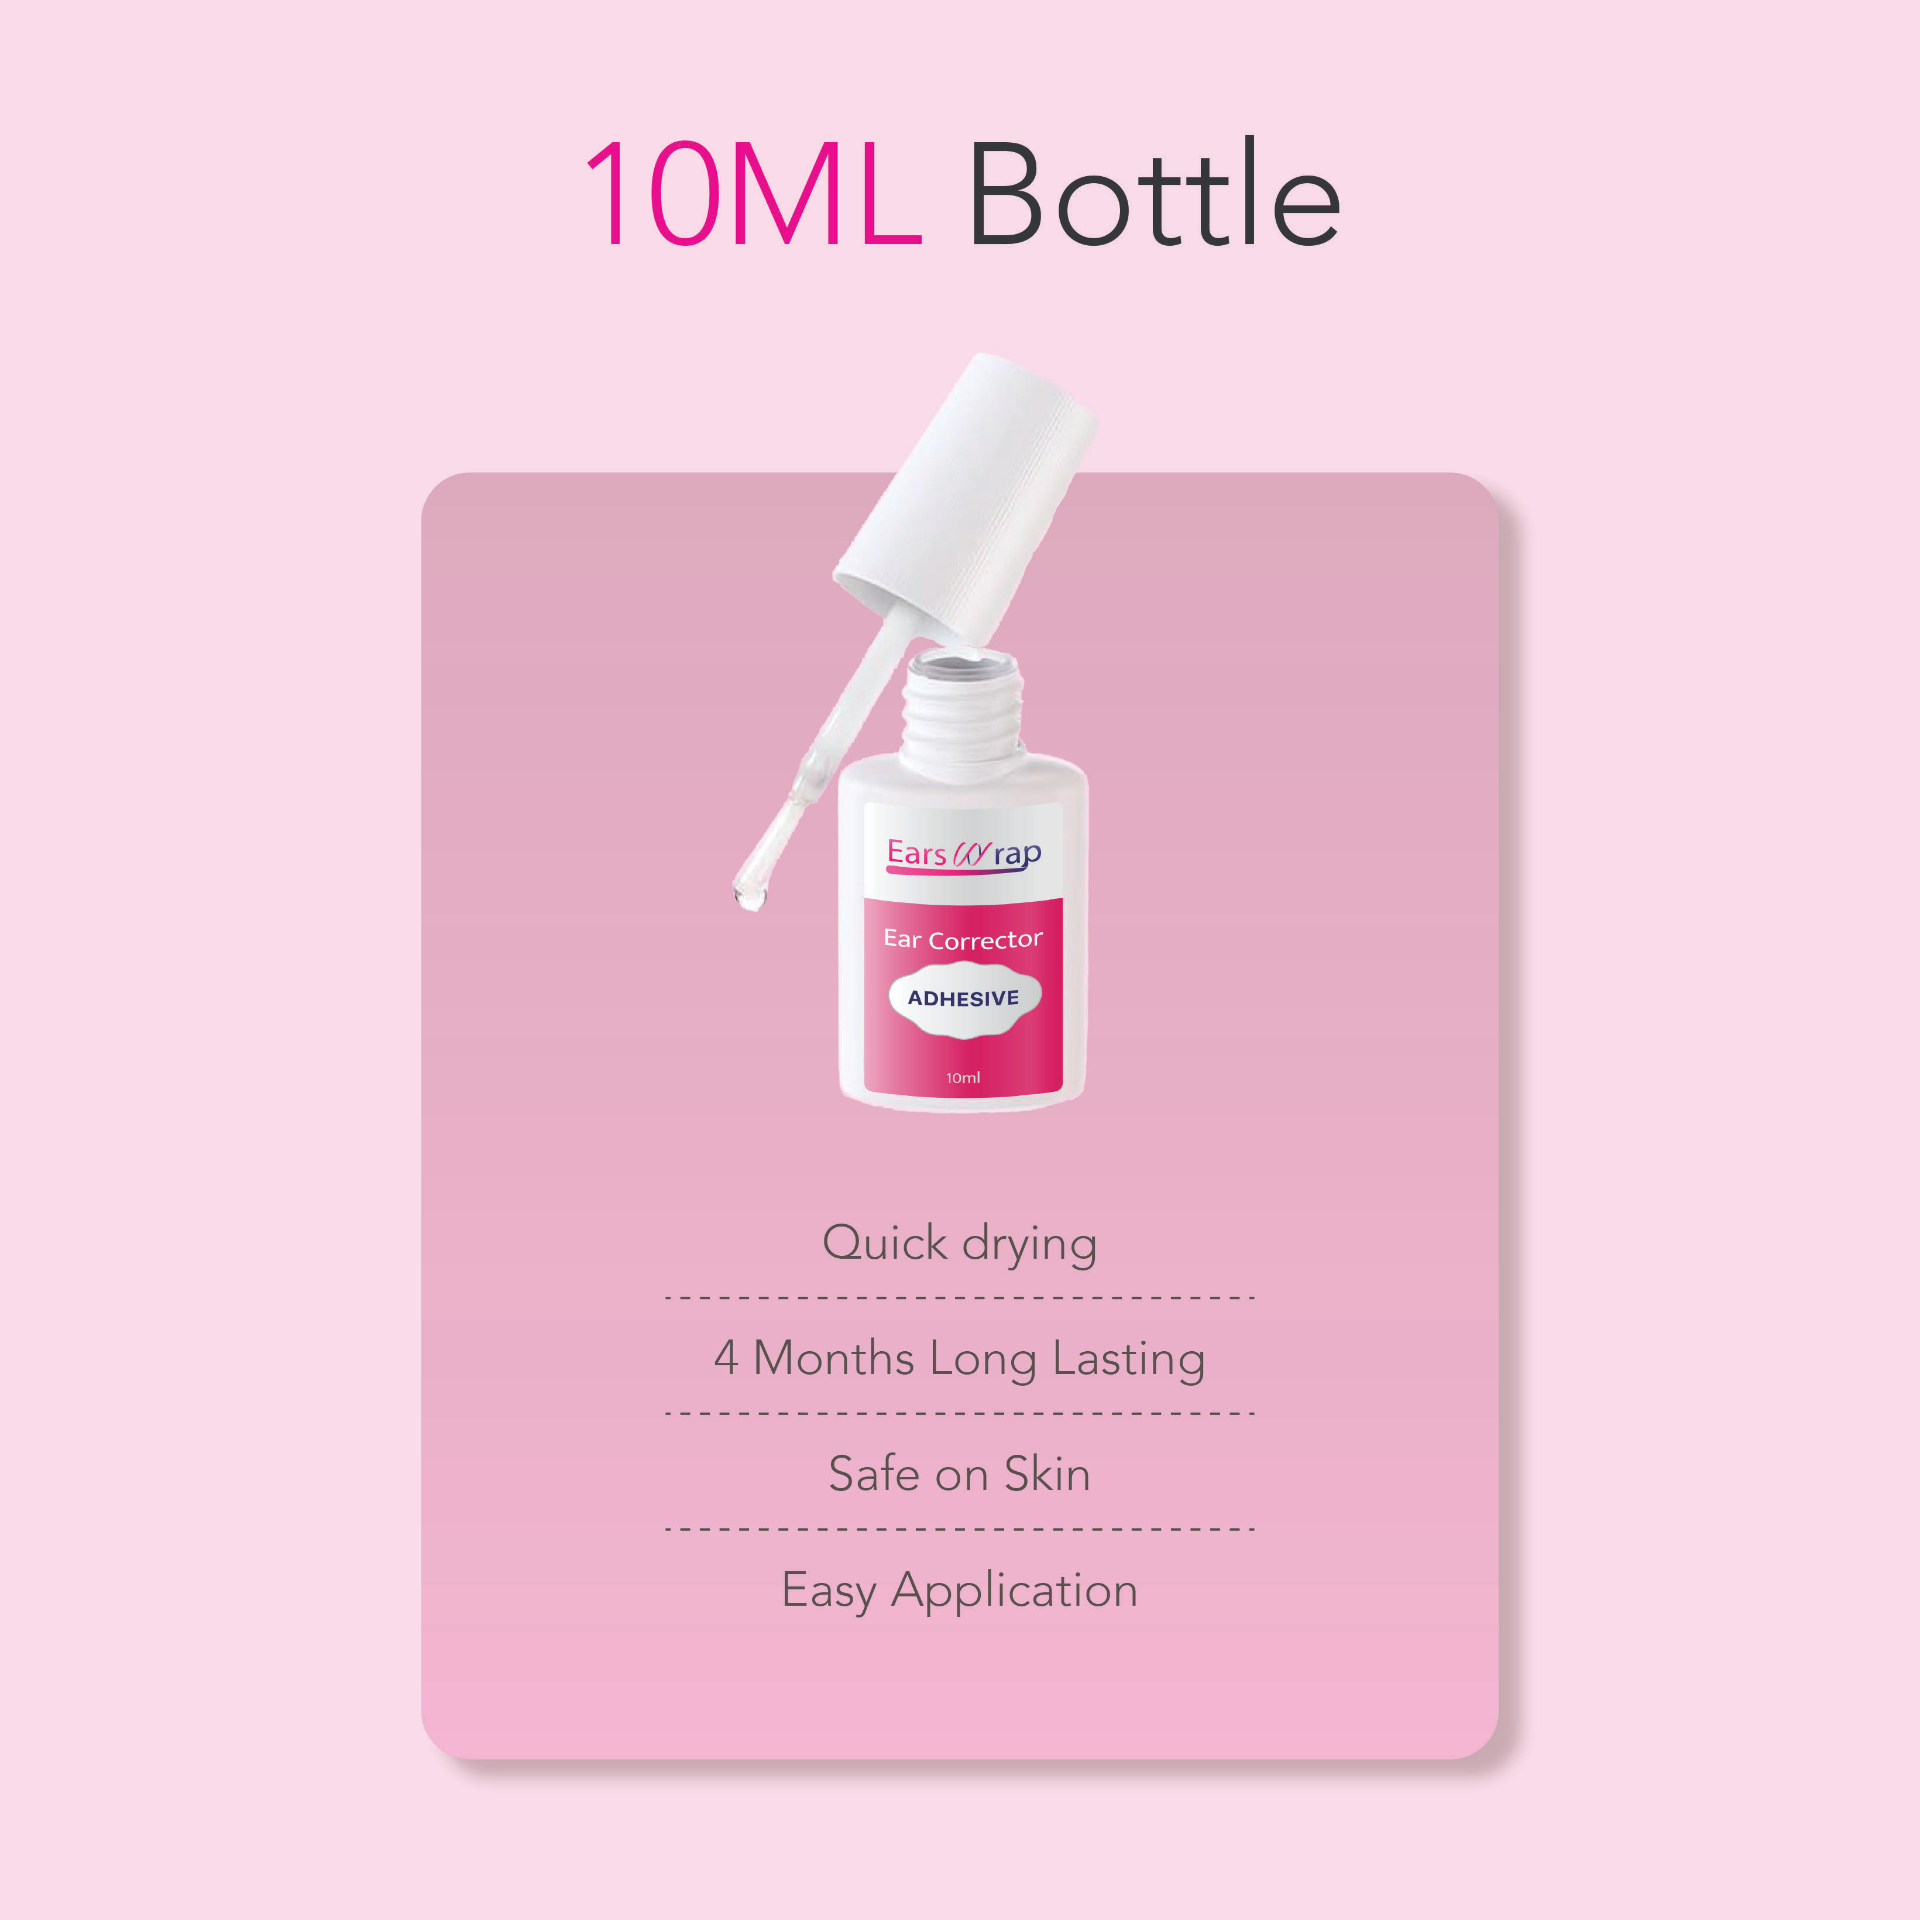
- Expect 12+ hours of hold per application. Heat, heavy sweat and swimming shorten it.
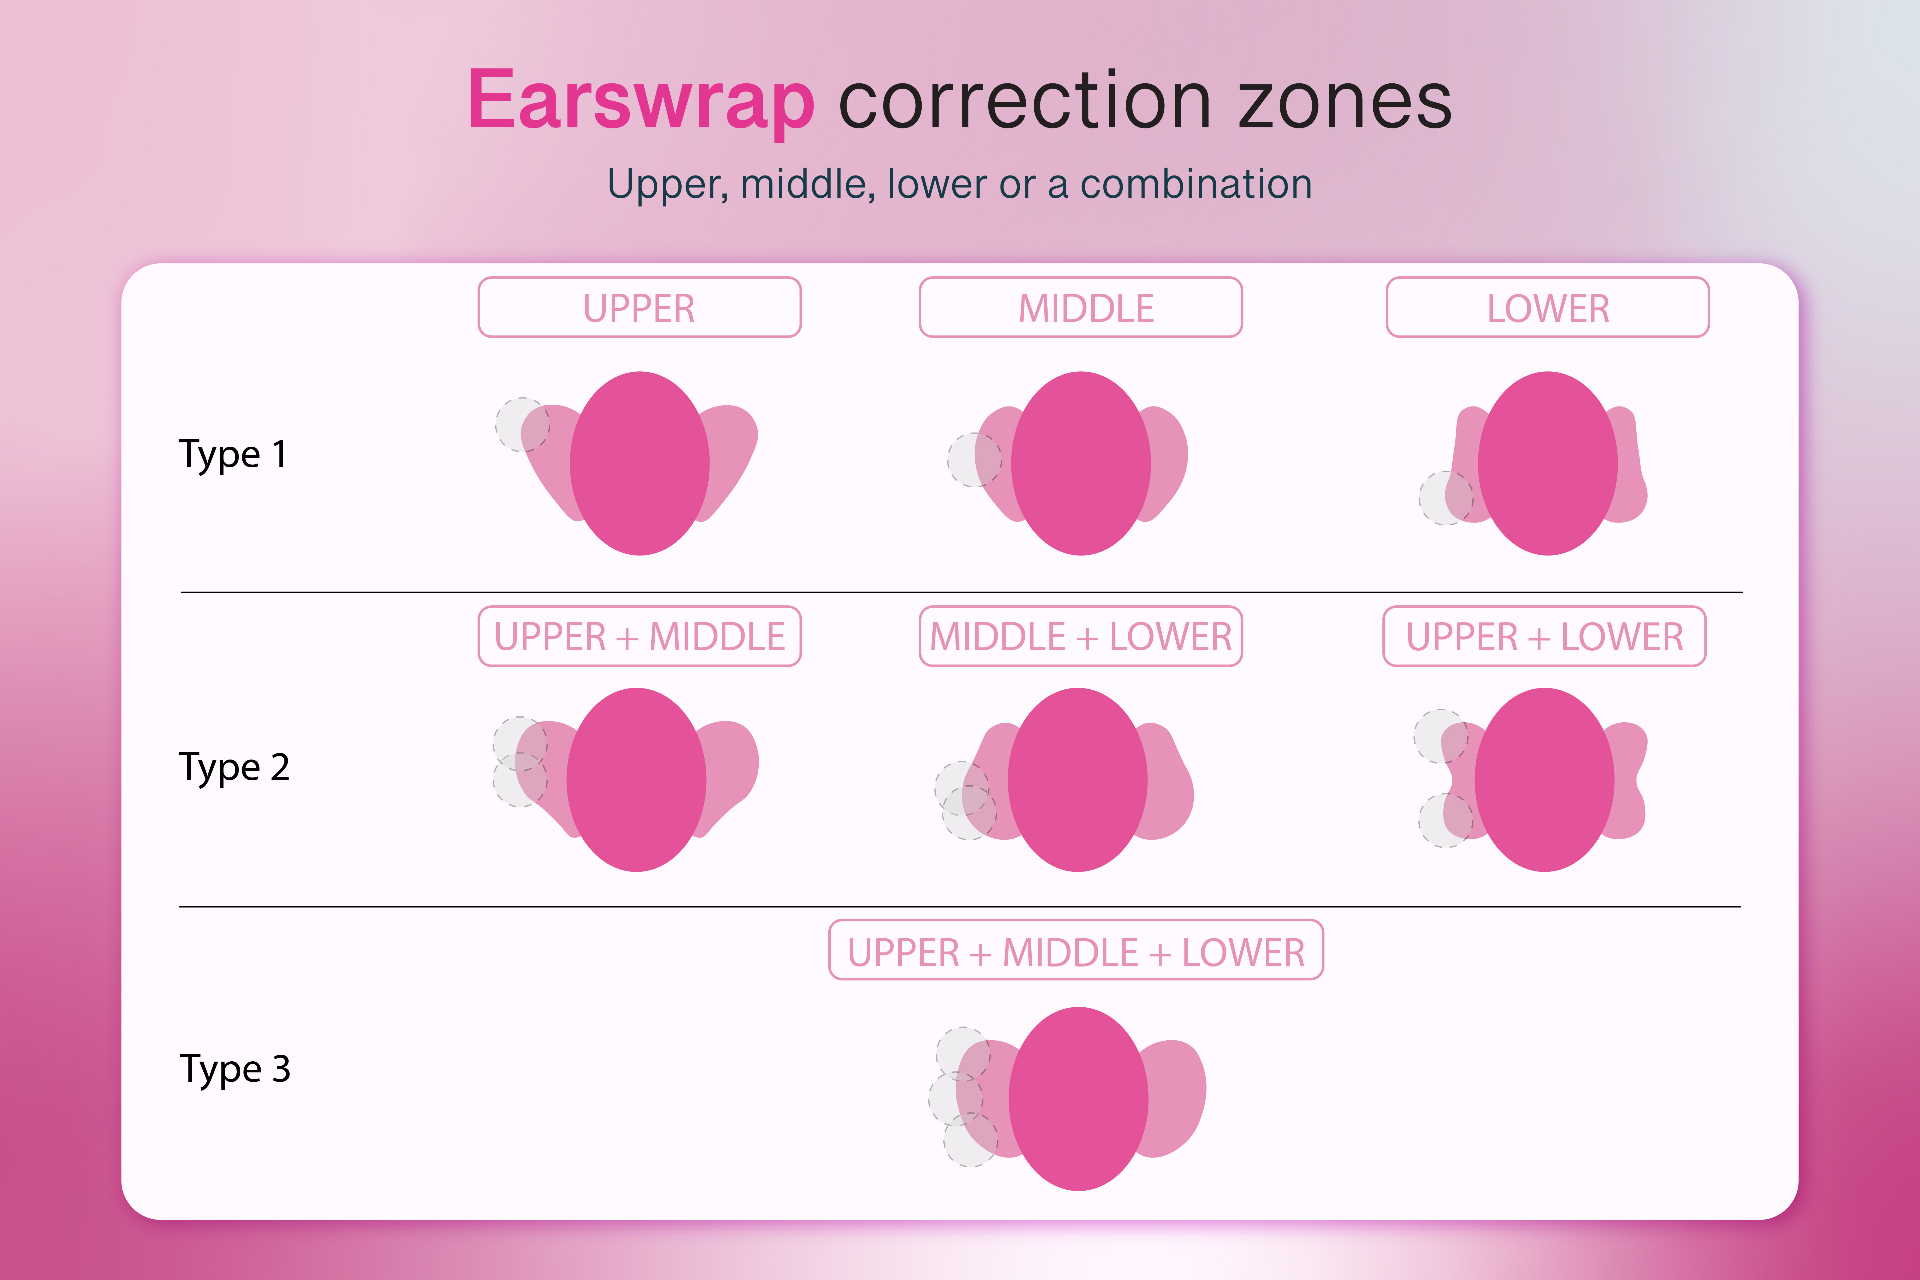
- The correction zone matters: top, middle, lower or a combination, depending on where your ear protrudes.
- The first attempt is usually the worst one. Most people get a clean, consistent result within a handful of applications.
Used Earswrap? Send us your before and after
We only publish customer photos with explicit written permission, which is why this gallery shows the product rather than a wall of faces. If you are happy to be featured, send two photos - one before, one with Earswrap applied - and tell us how you would like to be credited.
Submit your photos